BBQ Hawaiian Katsu Chicken Recipe You’ll Love
Have you ever bitten into something so perfectly crispy yet tender that it made your taste buds do a happy dance? That’s exactly what happens with my BBQ Hawaiian Katsu Chicken. I’ve combined the Japanese art of katsu with sweet Hawaiian BBQ flavours to create a dish that’s truly magical. The golden panko crust gives way to juicy chicken while the tangy sauce adds that perfect flavour kick. Trust me, once you try this fusion creation, your dinner rotation will never be the same.
Table of Contents
Why You’ll Love this BBQ Hawaiian Katsu Chicken
If you’re looking for a dish that’s guaranteed to impress, this BBQ Hawaiian Katsu Chicken is about to become your new go-to recipe.
I’ve been making this for years, and it never fails to wow everyone at the table.
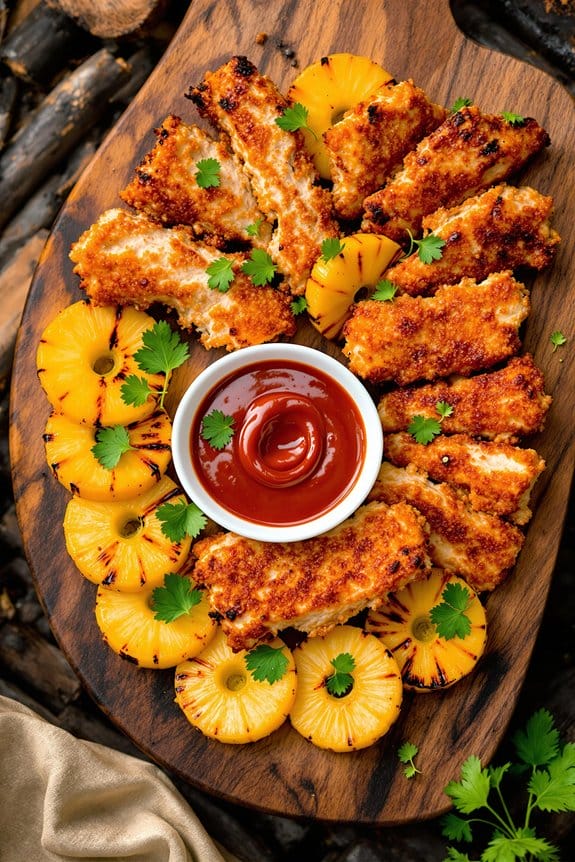
What makes it special? First, that incredible crispy texture from the panko coating that audibly crunches with each bite.
Then comes the flavour explosion when you dip those golden-brown strips into the sweet-tangy BBQ sauce that perfectly balances the Worcestershire, ketchup, and sugar.
I love how the chicken thighs stay incredibly juicy inside their crispy shell.
Trust me, once you master this simple technique of flattening, battering, and frying, you’ll wonder why you haven’t been making katsu chicken all along!
What ingredients are in BBQ Hawaiian Katsu Chicken?
The BBQ Hawaiian Katsu Chicken recipe brings together the best of Japanese and Hawaiian flavours in one absolutely mouthwatering dish. What I adore about this recipe is how it transforms humble chicken thighs into something truly special with just a handful of pantry ingredients. The crispy coating paired with that sweet-tangy sauce creates the perfect balance of textures and flavours that will transport you straight to the islands.
- 2 eggs
- 3/4 cup cornstarch
- 1/4 teaspoon salt (for batter)
- 1/4 teaspoon white pepper (for batter)
- 1/4 teaspoon garlic powder (for batter)
- 1 cup water (for batter)
- 4 pounds boneless skinless chicken thighs
- 1 pound panko breadcrumbs
- 1/2 cup Worcestershire sauce (for sauce)
- 1 cup ketchup (for sauce)
- 1 cup sugar (for sauce)
- 2 1/2 cups water (for sauce)
- 1/3 teaspoon salt (for sauce)
- 1/4 teaspoon chicken bouillon (for sauce)
- 1/4 teaspoon white pepper (for sauce)
- 1/4 teaspoon garlic powder (for sauce)
- 2-3 dashes Tabasco sauce
- 1/2 teaspoon cornstarch mixed with 1/2 cup water (for thickening)
- Oil for frying
When shopping for this recipe, might I suggest looking for higher welfare chicken thighs if your budget allows? They truly do have more flavour. For the panko breadcrumbs, don’t be tempted to substitute regular breadcrumbs, the larger, flakier texture of panko is essential for achieving that signature crunch that makes katsu so irresistible. And while the ingredient list might seem lengthy, most items are kitchen staples that create that distinctive Hawaiian-style BBQ sauce that sets this dish apart from standard katsu recipes.
How to Make this BBQ Hawaiian Katsu Chicken
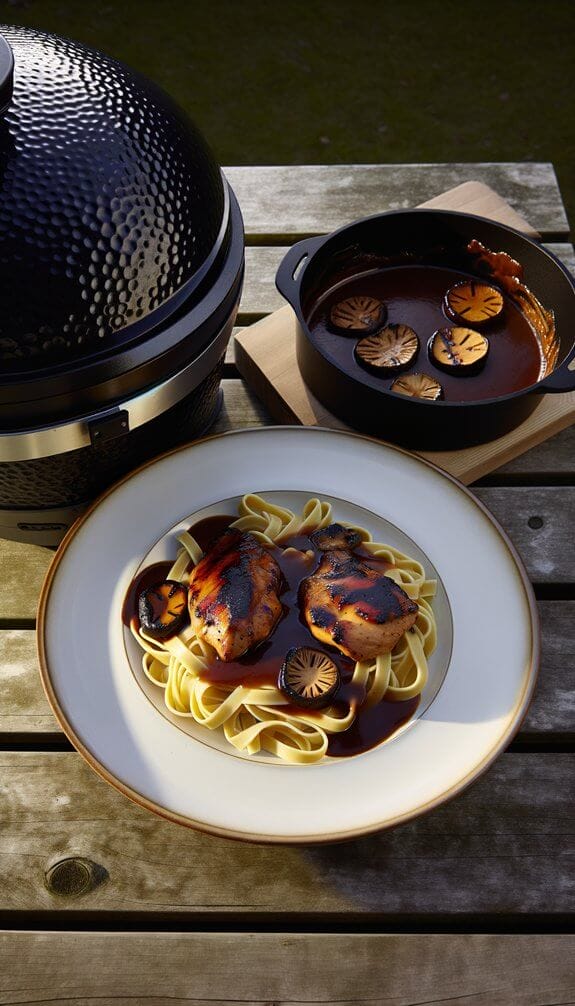
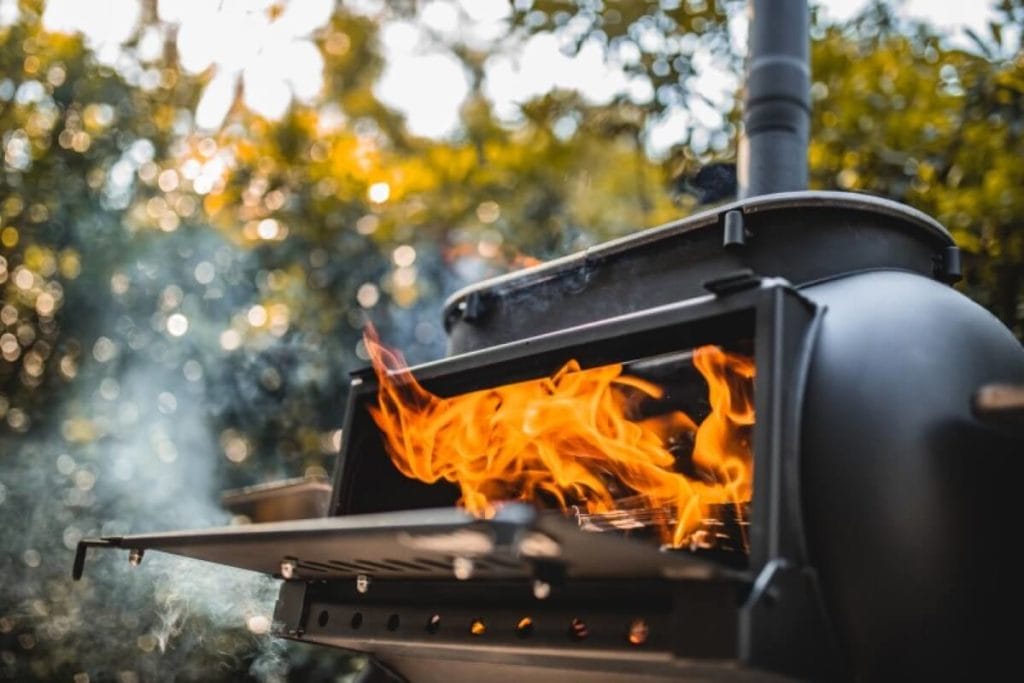
To convert this Hawaiian Katsu Chicken for the BBQ, I’d recommend using indirect heat cooking on your grill, a perfect method for maintaining that crispy exterior while ensuring the 4 pounds of chicken thighs cook through properly.
Begin by setting up your BBQ for indirect cooking, whether you’re using a Kamado, Ozpig or Pit Barrel Cooker. Heat your grill to a medium temperature of about 180°C, with the heat source on one side and a cooler zone on the other.
Start by opening the chicken thighs and flattening them with a rolling pin until they’re an even thickness, which helps them cook uniformly.
Next, prepare your coating station: whisk together 2 eggs, 3/4 cup cornflour, 1/4 teaspoon salt, 1/4 teaspoon white pepper, 1/4 teaspoon garlic powder, and 1 cup water in a bowl until you have a smooth batter. Pour 1 pound of panko breadcrumbs onto a separate plate.
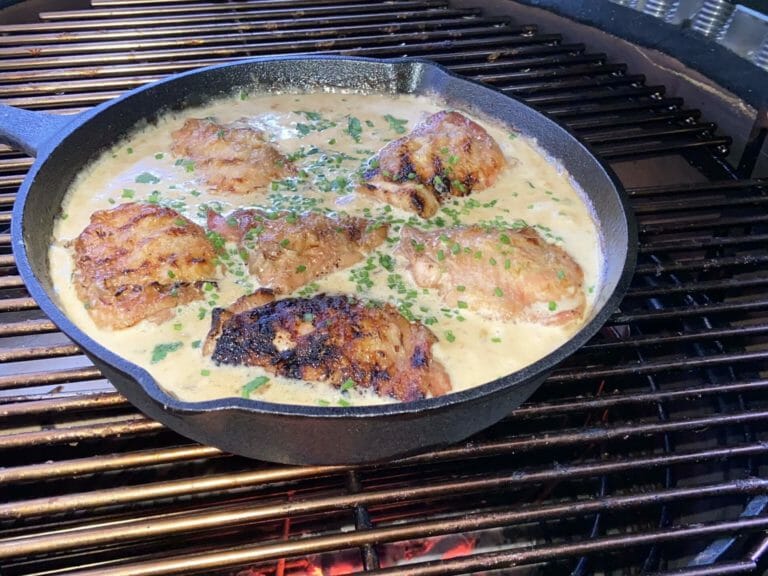
Dip each flattened chicken thigh into the egg batter, allowing excess to drip off, then press firmly into the panko, ensuring an even coating on both sides. Rather than deep-frying, place a plancha or cast iron skillet on the direct heat side of your BBQ, add a thin layer of oil and heat until shimmering.
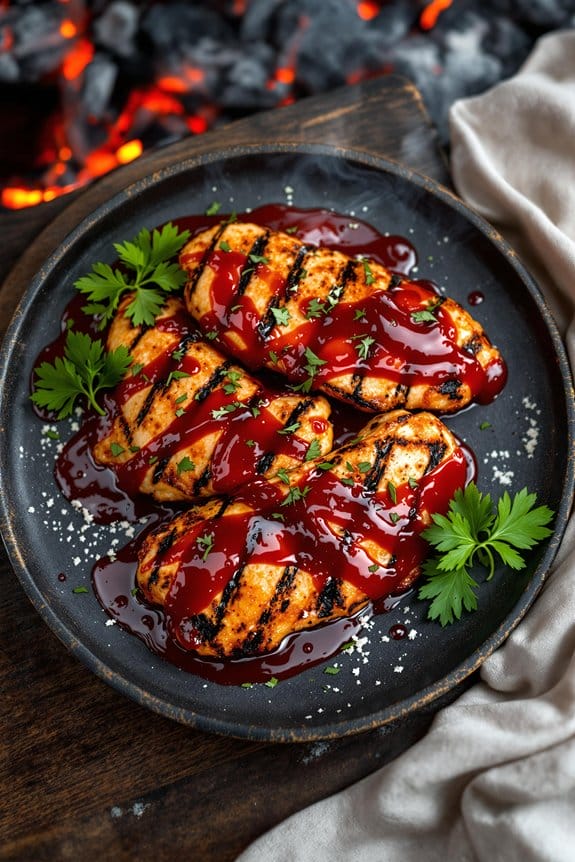
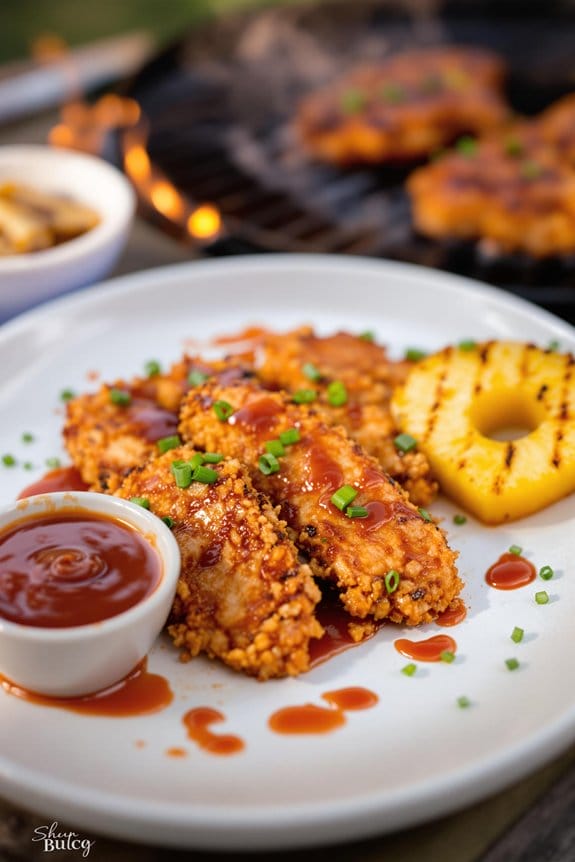
Sear the coated chicken for 2-3 minutes per side until golden, then move to the indirect side to finish cooking for about 15-20 minutes, or until the internal temperature reaches 75°C.
While the chicken finishes cooking, prepare the sauce by combining 1/2 cup Worcestershire sauce, 1 cup ketchup, 1 cup sugar, 2 1/2 cups water, 1/3 teaspoon salt, 1/4 teaspoon chicken bouillon, 1/4 teaspoon white pepper, 1/4 teaspoon garlic powder, and 2-3 dashes of Tabasco in a saucepan.
You can place this directly on a cooler part of the BBQ or on a side burner if your model has one. Bring the mixture to a gentle simmer, then add the 1/2 teaspoon cornflour mixed with 1/2 cup water to thicken. Allow the sauce to cool slightly while you slice the crispy chicken into strips.
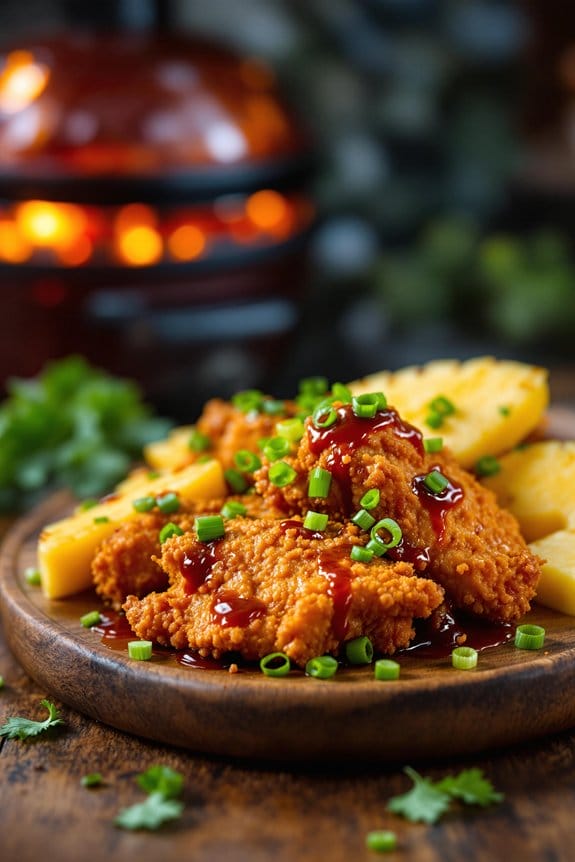
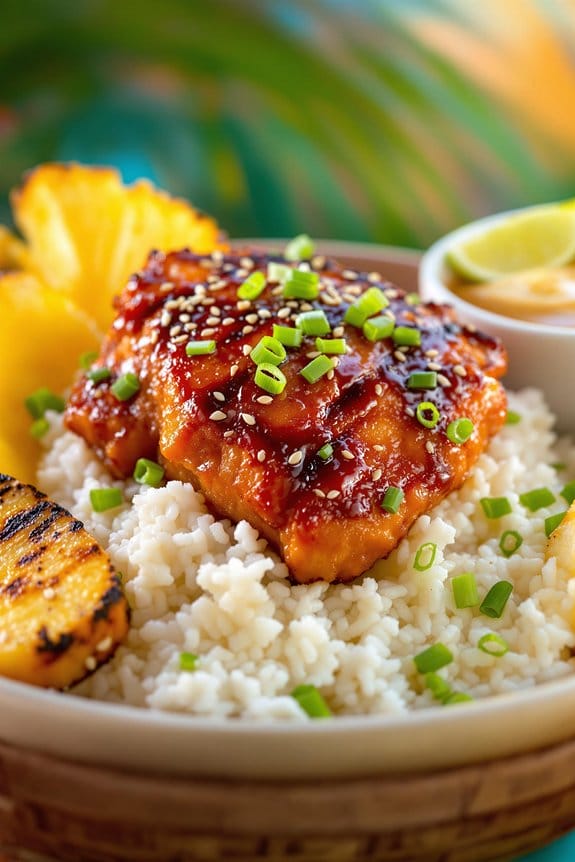
The smokiness from the BBQ adds a brilliant new dimension to this dish that you simply can’t achieve in a conventional kitchen. For a perfect sear, consider using a Monolith Cast Iron Full Grid, which provides excellent heat conduction for your cooking needs. Serve the golden katsu strips with the sweet-tangy sauce drizzled over or on the side for dipping, perhaps with some grilled pineapple for a truly Hawaiian touch.
BBQ Hawaiian Katsu Chicken Substitutions and Variations
For Monolith Kamado BBQ
- Direct Grilling: Prepare chicken as directed, but instead of frying, grill directly over medium heat (300-325°F) until crispy and cooked through.
- Indirect Cooking: Place chicken on the grill away from direct heat for a gentler cooking process, maintaining moisture.
- Plancha Method: Use the fire plate to shallow-fry the panko-crusted chicken, simulating traditional frying.
- Baking: Set up for indirect heat (350°F) and bake the breaded chicken until golden and crisp. This method works well with the Monolith Classic Fire Pot Set, enhancing your grilling experience.
For Ozpig & Big Pig Stoves
- Plancha Cooking: Use a flat cooking surface to cook the breaded chicken with minimal oil.
- Oven Baking: With the oven attachment, bake the katsu at 350°F until crispy.
- Direct Grilling: Cook directly over medium coals, flipping carefully to maintain the panko coating.
For Pit Barrel Cooker
- Direct Grilling: Cook on the grill grate over medium heat.
- Hanging Method: Skewer chicken pieces and hang for even cooking with smoky flavour.
- Roasting: Set up for indirect heat and roast until the coating is golden.
Coating Modifications for BBQ
- Add 1 tablespoon smoked paprika to the panko for smokier flavour.
- Mix 2 tablespoons BBQ rub into breadcrumbs.
- Lightly spray breaded chicken with oil before grilling to help browning.
Sauce Variations
- Add 2 tablespoons pineapple juice for a more Hawaiian flavour.
- Mix in 1 tablespoon liquid smoke for BBQ character.
- Brush sauce on during final minutes of cooking for a glaze effect.
What to Serve with BBQ Hawaiian Katsu Chicken
Serving Hawaiian BBQ Katsu Chicken without the perfect side dishes would be like visiting Hawaii without seeing the beach!
I always pair my crispy katsu with steamed white rice and a scoop of creamy macaroni salad for that authentic plate lunch experience.
Don’t forget a simple green salad dressed with rice vinegar to cut through the richness.
For drink pairings, I can’t recommend tropical options enough.
Try a cold pineapple juice, coconut water, or if you’re feeling festive, a Mai Tai!
If you prefer something milder, green tea works wonderfully to cleanse your palate between bites.
Want to go all out?
Add some Hawaiian sweet rolls and a small bowl of pineapple chunks for a complete island-inspired meal that’ll transport you straight to Honolulu!

Final Thoughts
While I look back at this Hawaiian BBQ Katsu Chicken recipe, I’m reminded of why it’s become such a staple in my kitchen.
There’s something magical about the crispy panko coating and that sweet-tangy sauce that keeps everyone coming back for seconds!
Don’t be afraid to experiment with different chicken varieties – while thighs are my go-to for their juiciness, breast meat works wonderfully too if you prefer leaner cuts.
The cooking techniques here are versatile; you can deep-fry traditionally or try air-frying for a lighter option.
What I love most is how this dish brings people together.
When I serve this katsu chicken, conversation flows, plates empty quickly, and there are always requests for the recipe.
It’s more than just delicious food – it’s about creating memorable moments around your table.
Frequently Asked Questions
Can I bake the chicken katsu instead of frying it?
Yes, I can bake katsu instead of frying. I’d suggest coating as directed, then spraying with oil and baking at 200°C for 25-30 minutes. It’s a healthier alternative using smart baking techniques.
How Long Can I Store Leftover Katsu in the Fridge?
I’d recommend storing your leftover katsu in an airtight container for 3-4 days. For optimal chicken freshness, refrigerate within two hours of cooking and reheat thoroughly before enjoying again.
Is This Recipe Suitable for Meal Prep?
78% of meal preppers save 2+ hours weekly! Yes, this chicken katsu is perfect for meal prep. I love making different variations – you can store it in the refrigerator for several days and reheat when needed.
What’s the Origin of Hawaiian Chicken Katsu?
Hawaiian chicken katsu originated from Japanese influence on Hawaiian cuisine. I would say it’s a perfect example of how Japanese culinary traditions were adapted with local Hawaiian ingredients and flavours.
Can I make the sauce in advance?
Yes, I can prepare the sauce in advance. It actually benefits from being stored in the refrigerator, allowing the flavours to enhance as the ingredients meld together nicely overnight.